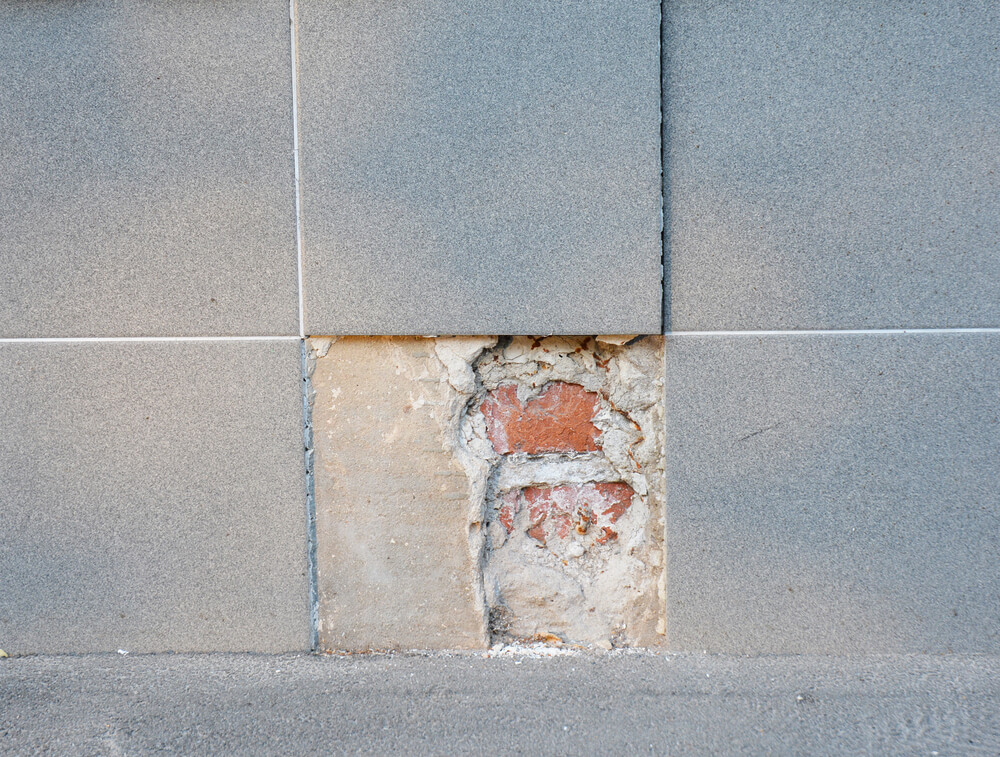
If you have an old tile floor that needs replacement or simply an aesthetic upgrade, it might do you well to do a little research and go about it yourself. Choosing to tackle the project rather than hiring out will likely save you a heap of cash in the long run, so with a little can-do attitude and a lot of elbow grease you’ll be on your way to a fresh new floor in no time. DS Brothers Ltd, a company of builders in London, has explained the most important things to know before you get started.
When Starting Your Project
Whatever way you choose to go about removing your tile flooring, it is vital that you wear a good pair of safety glasses, a dust mask, and a quality pair of leather gloves.
Tile will break in unpredictable ways upon removal and can produce some pretty violent razor-sharp pieces, so it’s good to have your safety contingencies in check.
It is also a good idea to use a set of flooring knee pads for those larger areas to make sure those bones stay comfortable.
If you don’t have a pair already and don’t feel like shelling out to buy them, you can use a gardener’s knee pad, stadium seat pad, or something similar.
Tile Removal Is Easier Than You Think
Basically, what you want to be accomplishing here is removing your old tile from the wood that it’s bonded to underneath.
When you think about it, you’re just peeling the tiles up and smoothing the underflooring of any old adhesive and debris in preparation for whatever new medium is going to be installed.
When removing the floor by hand, there are a few basic tools you’ll want to have nearby, so there’s the short list of what you’ll need:
- Personal protection equipment
- Hammer
- Concrete chisel or cold chisel; the latter will generally take longer
- Drop cloths, especially if the tile is adjacent to any hardwood flooring
- Putty knife or 5-in-1 tool
- Floor scraper, should you choose to employ one
The Technique
Some people think it’s a good idea to hit each tile in the center prior to pulling it up in order to break the tile apart first. Though this may be helpful for pulling up the first tile, you should be able to get your tool under the edge of each piece from there on out.
So, though recommended by some, this seems like an unnecessary step and appears to cause more of a mess rather than just starting under the edge of each tile with your cold chisel or impact tool and removing it that way.
First grab your hammer, and concrete or cold chisel. Using the hammer if you wish, give the tile you’re starting with a good smack dead in the center. This will break it apart making it easier to remove. Each consecutive tile should not require this step.
Go along the bottom edge of each tile with your chisel, giving it solid whacks with your hammer. A few concentrated, hefty hammer blows will be much more effective than myriad little blows with no weight behind them.
A higher quantity of useless blows will wear your body out faster, so make your strikes count. As the tile breaks away, continue the process on each new edge that surfaces.
When coming upon an edge adjacent to a hardwood floor or anything similar, lay down your drop cloth so the ejected pieces of material won’t scratch your nice floor.
A drop cloth can also be useful along an edge with carpet so you’ll spend less time vacuuming when the project is done.
Once all of the tile is removed, you’ll be left with some sort of adhesive stuck to your underfloor. Being that we are humans and have our own ideas when it comes to building things, you might have any number of inventions that once held your tiles to the building. Most likely it will be some sort of durable, inflexible compound that requires some pounding and scraping to remove.
You can either pummel downward on the floor with a big hammer, causing the adhesive to break up due to vibration, and then come along with the floor scraper, or you can continue in a chiseling fashion at an angle as you did with the tiles.
There are also big electric scrapers you can rent that are made specifically for the job and work superbly. If you go this route, make sure to wear ear protection as they can be very loud.
If you attempt any of these methods for some time to no avail or if it is doing your underflooring significant damage, you might consider replacing the underfloor plywood altogether.
As the adhesive (hopefully) breaks apart, scrape across the underflooring with a floor scraper or a putty knife getting the decking as clean as possible, and then sweep or vacuum up the rest of the debris.
If you are going to be doing a larger floor or if you’re doing a paid project for someone else, you might attempt it with an air hammer, whether it be electric or air powered.
Just follow the same procedure listed above, obviously replacing any of the “chisel” parts with “air hammer”. The air hammer is bound to break the tile up into smaller bits, so be warned that it may require a lot more cleanup than the manual method.
There you go, that’s how you remove your old tile floor. If you do the job yourself, you’ll save some money. Just make sure to use the right tools, common sense, and remember that those broken pieces can be sharp.

